Perform Read/Write UUID
Before you begin, ensure that you have connected the X8721A to your PC (via USB connection) and that the selected DUT supports Connect Request mode.
Perform the following steps to read/write UUID on the selected DUT.
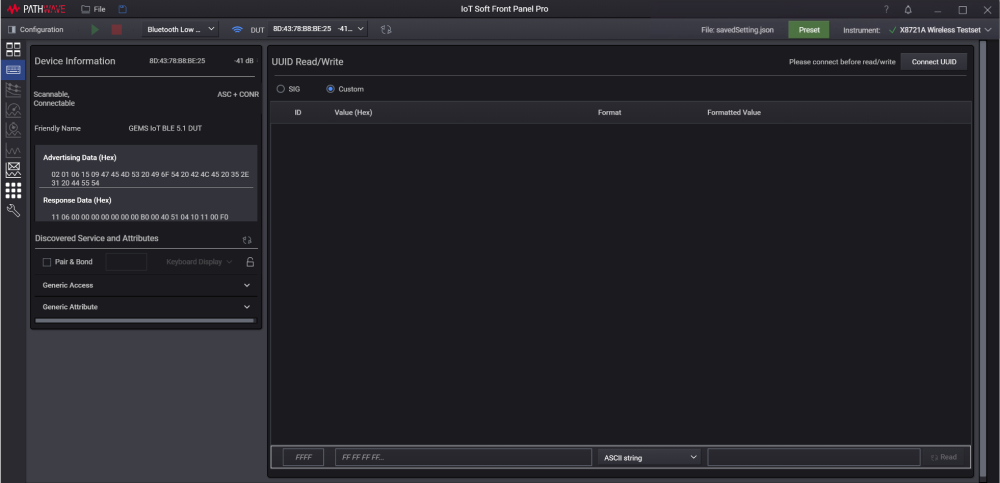
- From the side menu, click the BLE UUID View (
 ).
). 
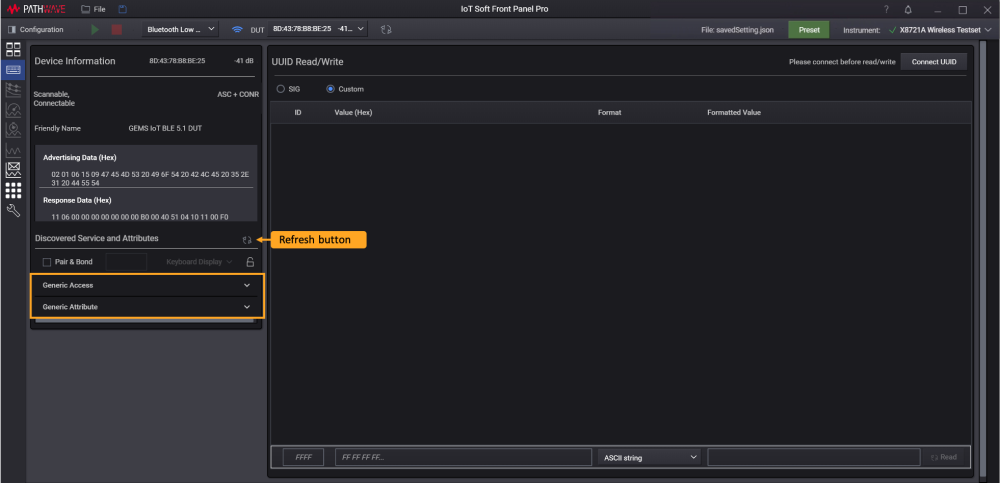
-
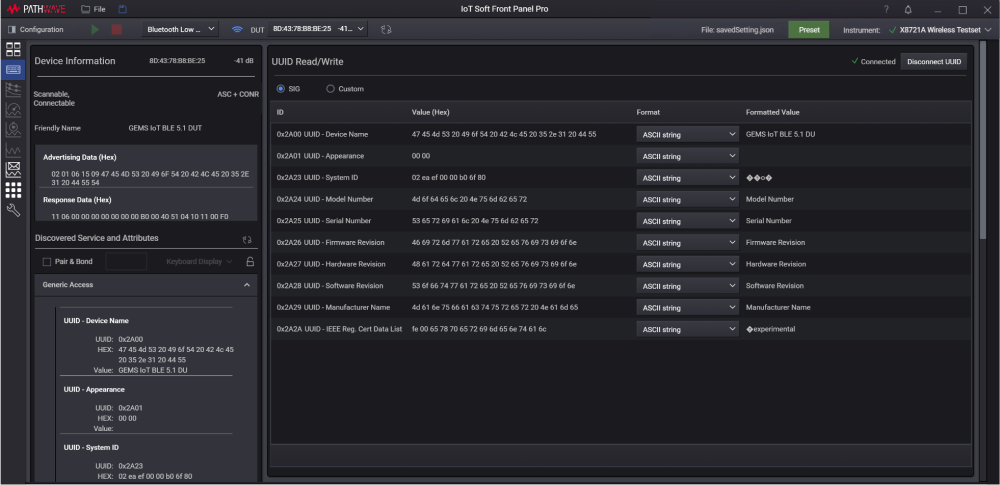
Click the Refresh button to begin discovering the services and attributes written in the selected DUT and update the information on this page. When it is complete, you can expand the Generic Access and the Generic Attribute categories indicated below.
 NOTE
NOTEYou may skip this step if you have selected the 'Run Service Discovery during device activation' check box as mentioned in the Set Up X8721A as Bluetooth Low Energy Tester page.
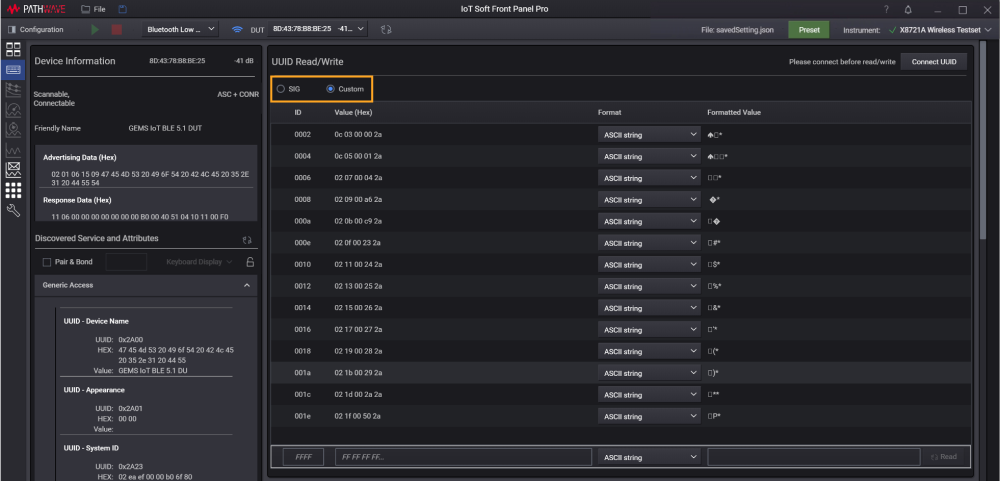
- According to your preference, select to view in SIG or Custom types of UUID handles. You will use the same UUID type to read/write UUID later.
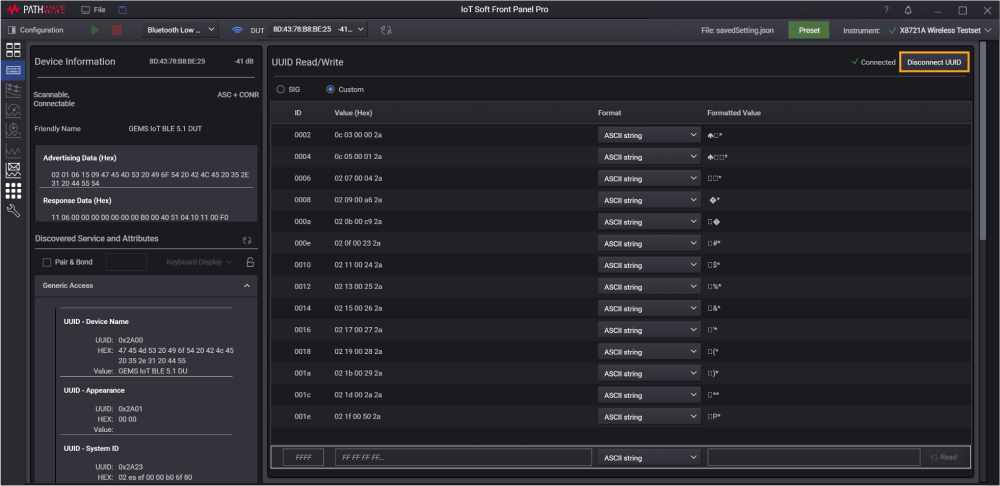
- Click the Connect UUID button to establish a connection to the connect request device. Upon successful connection, you will see a 'Connected' text and the button will change to Disconnect UUID.
- For those who are have selected the SIG UUID type, you are only allowed to read the predefined UUID as shown below. You may change the format of the value shown.
- For those who are using the Custom format, follow the steps below to read or write the UUID.
- Scroll to the bottom of the list and use the Edit bar to read or write the UUID. Selecting an ID from the table will populate the information in the Edit bar.
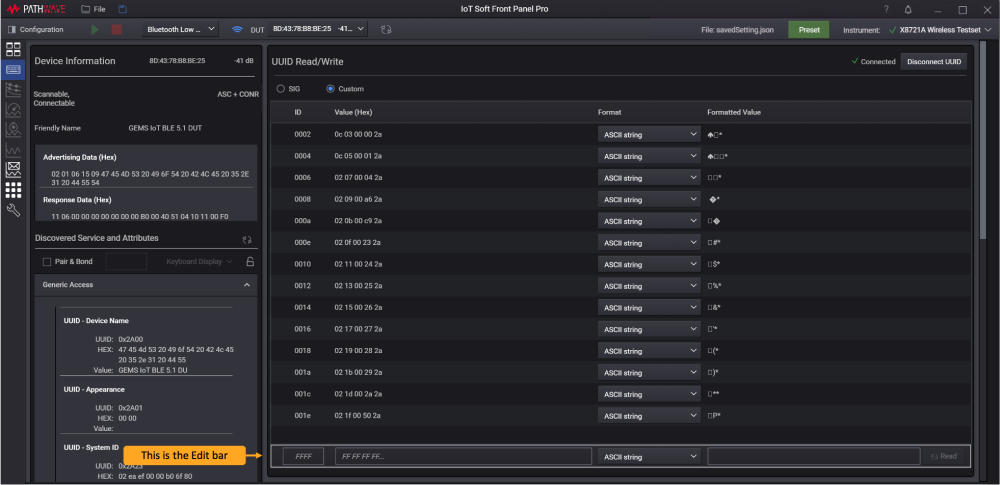
- To read a specific UUID, enter the desired ID that suit the SIG or Custom format and click the Read button. A successful operation will include the new ID in the table.

- To write a new value to the specific ID, you will need to enter the information (hexadecimal or text) in the Edit bar shown below. Click Write the new information onto the desired UUID.

In the Format column, select either ASCII string, IEEE Floating Point (16-bit, 32-bit or 64-bit) or the Integer format to read or write the UUID. This is subject to the format of the UUID written in the selected device.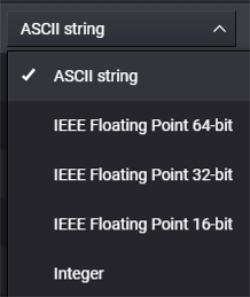
- Scroll to the bottom of the list and use the Edit bar to read or write the UUID. Selecting an ID from the table will populate the information in the Edit bar.
-
For those who are using the Pair & Bond feature, follow the steps as indicated in the image below.

-
Select the Pair & Bond feature check box and enter the six-digit security key to your device in the field (as required per the pairing method).
-
Based on the capabilities of the connected device, select the supported mechanism to show the security key or indicate 'Yes' or 'No' option from the drop-down list. If the device does not support user interaction, select the No Input/Output option.
- Click the Refresh button to start the pairing and bonding process.
-
Once the security key matches those written in the device, it will show that the X8721A is successfully paired and bonded with the device.
NOTEDuring the pairing and bonding process, a pass key (six digits) is exchanged between the devices and is used to create a shared short term key (pairing). Using the short term key, the devices are now able to communicate in an encrypted manor and create a stronger long term key. Once the devices have created and shared this long term key, they are said to have bonded. Once devices have been bonded, they can exchange information in a secure manor. Without the security key, the software will only connect the device to X8721A.
The Pair & Bond feature is described in Bluetooth Low Energy UUID View along with the respective indicators.
-
- At the end of the read/write or pair & bond process, click the Disconnect UUID button to disconnect the device. You must perform this step before you begin to use other features in IoT Soft Front Panel.